Thư viện tạo hiệu ứng gơn sóng trong Android Material Ripple Layout
Material Ripple Layout thư viện tạo hiệu ứng gợn sóng khi chạm vào
1. Giới thiệu thư viện Material Ripple Layout
Là hiệu ứng phản hồi lại khi được chạm giúp người dùng xác định được họ đã tương tác với phần nào của các UI element. Ví dụ, các button hiện nay sẽ hiển thị hiệu ứng gợn sóng khi chúng được chạm vào, đây chính là hiệu ứng phản hồi mặc định trong Android 5.0. (API 21).
Hiệu ứng gợn sóng kết thúc ở viền của view giúp cho ứng dụng cả bạn trở nên sinh động và hiện đại .
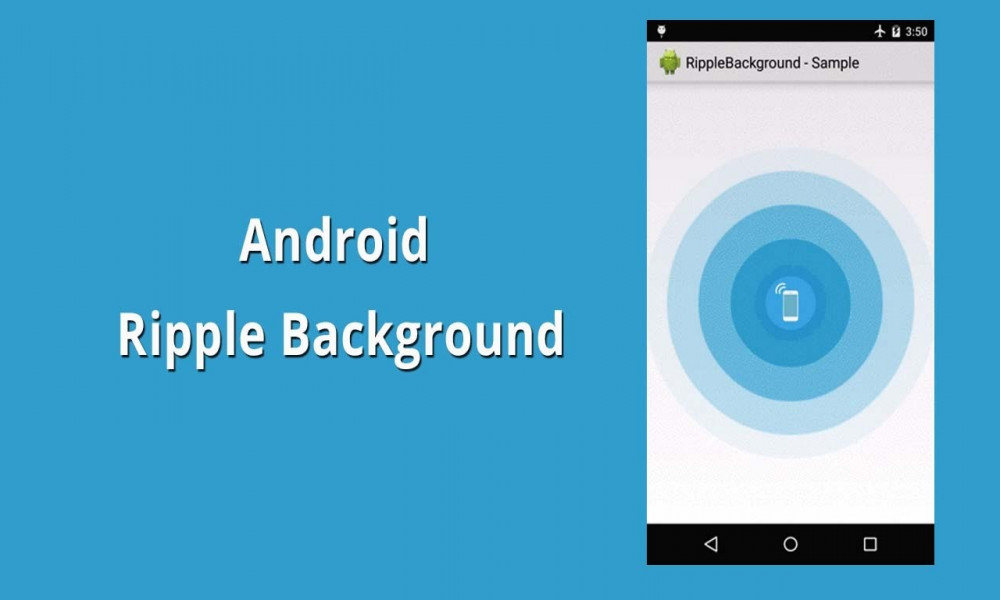
Hình ảnh minh họa cho Material Ripple Layout
2. Cách sử dụng
Đầu tiên để sử dụng được thư viện thì bạn phải khi báo chúng trong build.gradle
implementation 'com.balysv:material-ripple:1.0.2'
Nhớ kiểm tra phiên bản trước khi Sync Now.
Tiếp theo là khai báo trong file XML.
<com.balysv.materialripple.MaterialRippleLayout
    android:id="@+id/ripple"
    android:layout_width="match_parent"
    android:layout_height="wrap_content">

    <Button
        android:layout_width="match_parent"
        android:layout_height="wrap_content"
        android:layout_gravity="center"
        android:text="Button inside a ripple"/>

</com.balysv.materialripple.MaterialRippleLayout>
Nếu sử dụng trong một AdapterView bạn phải đặt rippleInAdapter thành true
Các thuộc tính của Material Ripple Layout :
app:mrl_rippleOverlay="true"              // if true, ripple is drawn in foreground; false - background
app:mrl_rippleColor="#ff0000"             // màu của hiệu ứng
app:mrl_rippleAlpha="0.1"                 // alpha of ripple
app:mrl_rippleDimension="10dp"            // bán kính của gợn sóng
app:mrl_rippleHover="true"                // if true, hiệu ứng di chuột được vẽ khi chế độ xem được chạm vào
app:mrl_rippleRoundedCorners="10dp"       // bán kính các góc của gợn sóng. Lưu ý: nó sử dụng đường ống cho API 17 trở xuống
app:mrl_rippleInAdapter="true"            // if true, MaterialRippleLayout sẽ tối ưu hóa để sử dụng trong AdapterViews
app:mrl_rippleDuration="350"              // thời gian diễn ra hiệu ứng
app:mrl_rippleFadeDuration="75"           // thời gina hiệu ứng mờ dần
app:mrl_rippleDelayClick="true"           // không gọi đến hàm OnClickListeners đến khi hiệu ứng kết thúc
app:mrl_rippleBackground="#FFFFFF"        // bóng của sóng . ưu tiên sử dụng màu #FFFFFF
app:mrl_ripplePersistent="true"           // hiệu ứng tồn tại đến khi kết thúc màu
Sự kiện OnClickListener trong MaterialRippleLayout:
findViewById(R.id.ripple).setOnClickListener(new View.OnClickListener() {
    @Override public void onClick(View v) {
        // handle me
    }
});
3. Ví dụ minh họa
Trong ví dụ này sẽ xét sự kiện khi sử dụng Material Ripple Layout vào 3 view khác nhau gồm button, imageview, textview .
File XML.
<?xml version="1.0" encoding="utf-8"?>
<LinearLayout xmlns:android="http://schemas.android.com/apk/res/android"
    xmlns:app="http://schemas.android.com/apk/res-auto"
    xmlns:tools="http://schemas.android.com/tools"
    android:layout_width="match_parent"
    android:orientation="vertical"
    android:layout_gravity="center"
    android:gravity="center"
    android:layout_height="match_parent"
    tools:context=".MainActivity">

    <com.balysv.materialripple.MaterialRippleLayout
        app:mrl_rippleColor="@color/color2"
        android:id="@+id/ripple"
        android:layout_width="wrap_content"
        android:layout_height="wrap_content">

        <Button
            android:layout_margin="10dp"
            android:text="button1"
            android:id="@+id/button1"
            android:layout_width="wrap_content"
            android:layout_height="wrap_content"/>

    </com.balysv.materialripple.MaterialRippleLayout>

    <com.balysv.materialripple.MaterialRippleLayout
        app:mrl_rippleColor="@color/colorAccent"
        android:id="@+id/ripple1"
        android:layout_width="match_parent"
        android:layout_height="wrap_content">
        <TextView
            android:layout_gravity="center"
            android:gravity="center"
            android:textSize="20dp"
            android:text="vncode.vn"
            android:layout_margin="10dp"
            android:id="@+id/button2"
            android:layout_width="wrap_content"
            android:layout_height="30dp"/>
    </com.balysv.materialripple.MaterialRippleLayout>

    <com.balysv.materialripple.MaterialRippleLayout
        app:mrl_rippleColor="@color/colorPrimary"
        android:id="@+id/ripple3"
        android:layout_width="wrap_content"
        android:layout_height="wrap_content">
        <ImageView
            android:src="@drawable/ic_launcher_foreground"
            android:layout_margin="10dp"
            android:text="button3"
            android:id="@+id/button3"
            android:layout_width="wrap_content"
            android:layout_height="wrap_content"/>
    </com.balysv.materialripple.MaterialRippleLayout>


</LinearLayout>
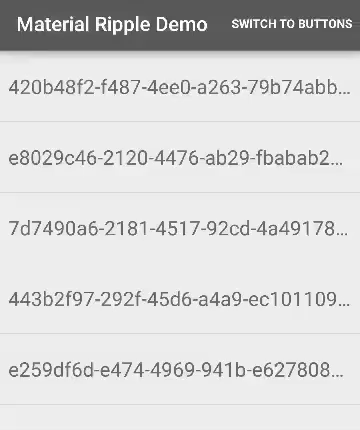
Kết quả :

Theo dõi VnCoder trên Facebook, để cập nhật những bài viết, tin tức và khoá học mới nhất!