Lập trình Android với bộ nhớ trong (Internal Storage)
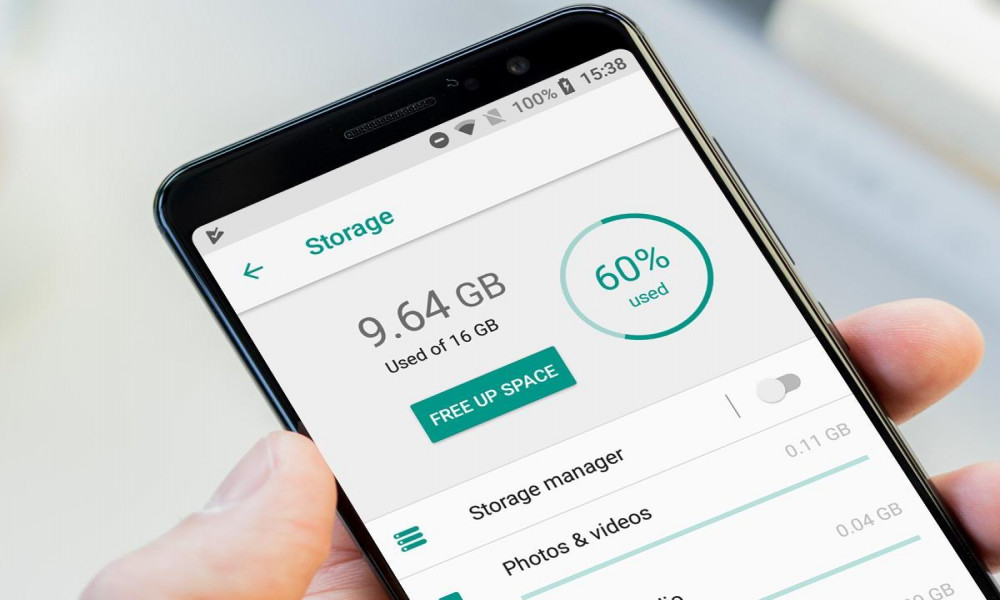
Trong lập trình android, nhiều khi chúng ta cần thao tác với các dữ liệu trong bộ nhớ của thiết bị android, hoặc tạo các dữ liệu trong bộ nhớ này. Bộ nhớ trong android được chia làm hai loại là bộ nhớ trong (Internal storage) và bộ nhớ ngoài (External storage). Trong bài học này chúng ta sẽ tìm hểu về bộ nhớ trong của android (Internal storage) và làm một ví dụ đơn giản về lưu trữ dữ liệu và đọc dữ liệu lên tại bộ nhớ trong của thiết bị andorid.

Android Internal storage là nơi lưu trữ dữ liệu cá nhân của từng ứng dụng, các dữ liệu được tạo ra và lưu trữ này sẽ được sự dụng riêng cho từng ứng dụng đó và các ứng dụng khác sẽ không thể truy cập vào được. Khi ứng dụng đó được gỡ bỏ khỏi thiết bị android thì các file dữ liệu được lưu tại bộ nhớ trong này sẽ bị xóa bỏ theo. Khi chúng ta làm việc với các file dữ liệu ở bộ nhớ trong thì chỉ có thể làm việc với tên file đơn giản mà không thể làm việc với tên file có đường dẫn.
Bây giờ chúng ta sẽ làm một ví dụ đơn giản để lưu một chuỗi văn bản vào bộ nhớ trong một file txt và sau đó đọc file txt đó rồi đưa ra ngoài màn hình.
Đầu tiên ta tạo một project mới với MainActivity dạng EmptyActivity. Ở đây mình tạo project có tên Internal_Storage
Tại giao diện của MainActivity ta tạo tại file activity_main.xml bao mồm một TextView để thông báo trạng thái lưu hoặc đọc dữ liệu, một EditText để nhập vào dữ liệu, 2 Button để nhấn lưu dữ liệu và đọc ra dữ liệu từ bộ nhớ trong:
<?xml version="1.0" encoding="utf-8"?>
<LinearLayout xmlns:android="http://schemas.android.com/apk/res/android"
    android:layout_width="match_parent"
    android:layout_height="match_parent"
    android:gravity="center"
    android:orientation="vertical">

    <TextView
        android:textSize="25sp"
        android:gravity="center"
        android:layout_width="fill_parent"
        android:layout_height="wrap_content"
        android:text="Lưu trữ file vào bộ nhớ trong" />

    <EditText
        android:id="@+id/myInputText"
        android:layout_width="match_parent"
        android:layout_height="wrap_content"
        android:ems="10"
        android:gravity="top|left"
        android:inputType="textMultiLine"
        android:lines="5"
        android:minLines="3">
        <requestFocus />
    </EditText>

    <LinearLayout
        android:orientation="horizontal"
        android:layout_width="match_parent"
        android:layout_height="wrap_content">
        <Button
            android:layout_weight="1"
            android:id="@+id/btnSave"
            android:layout_width="0dp"
            android:layout_height="wrap_content"
            android:text="Lưu vào" />

        <Button
            android:layout_weight="1"
            android:id="@+id/btnDisplay"
            android:layout_width="0dp"
            android:layout_height="wrap_content"
            android:text="Lấy dữ liệu " />
    </LinearLayout>

    <TextView
        android:id="@+id/responseText"
        android:layout_width="wrap_content"
        android:layout_height="wrap_content"
        android:padding="5dp"
        android:text=""
        android:textAppearance="?android:attr/textAppearanceMedium" />

</LinearLayout>
Khi đã tạo xong giao diện cho Activity ta code chức năng lưu một đoạn text vào bộ nhớ trong của thiết bị android. Đầu tiên ta tạo một file có tên internalStorage.txt trong bộ nhớ trong, hoặc mở file này nếu nó đã được tạo rồi bằng cách thêm dòng lệnh tại hàm onCreate:
ContextWrapper contextWrapper = new ContextWrapper(
        getApplicationContext());
//Tạo (Hoặc là mở file nếu nó đã tồn tại) Trong bộ nhớ trong có thư mục là ThuMucCuaToi.
File directory = contextWrapper.getDir(filepath, Context.MODE_PRIVATE);
myInternalFile = new File(directory, filename);
Với filepath và filename là chuỗi miêu tả tên thư mục và tên file ta khai báo biến cục bộ ngoài hàm onCreate:
private String filename = "internalStorage.txt";

//Thư mục do mình đặt
private String filepath = "ThuMucCuaToi";
File myInternalFile;
Tiếp theo ta sẽ tạo các sự kiện khi click vào nút lưu và đọc ra dữ liệu tại bộ nhớ trong bằng hàm initView đẻ ánh xạ id với các đối tượng trên giao diện, và sau đó gọi initView trên hàm onCreate bằng dòng lệnh initView();
Button btnSave, btnDisplay;
EditText myInputText;
TextView responseText;
private void initView() {
    myInputText = (EditText) findViewById(R.id.myInputText);
    responseText = (TextView) findViewById(R.id.responseText);
    // Các sự kiện
    btnSave = (Button) findViewById(R.id.btnSave);
    btnSave.setOnClickListener(this);
    btnDisplay = (Button) findViewById(R.id.btnDisplay);
    btnDisplay.setOnClickListener(this);
}
Cuối cùng ta sẽ code chức năng cho sự kiện click và từng button lưu và đọc file
public void onClick(View v) {

    String myData = "";
    switch (v.getId()) {
        case R.id.btnSave:
            try {
                //Mở file
                FileOutputStream fos = new FileOutputStream(myInternalFile);
                //Ghi dữ liệu vào file
                fos.write(myInputText.getText().toString().getBytes());
                fos.close();
            } catch (IOException e) {
                e.printStackTrace();
            }
            myInputText.setText("");
            responseText
                    .setText("Đã được lưu vào bộ nhớ trong");
            break;

        case R.id.btnDisplay:
            try {
                //Đọc file
                FileInputStream fis = new FileInputStream(myInternalFile);
                DataInputStream in = new DataInputStream(fis);
                BufferedReader br = new BufferedReader(
                        new InputStreamReader(in));
                String strLine;
                //Đọc từng dòng
                while ((strLine = br.readLine()) != null) {
                    myData = myData + strLine;
                }
                in.close();
            } catch (IOException e) {
                e.printStackTrace();
            }
            myInputText.setText(myData);
            responseText
                    .setText("Lấy dữ liệu từ bộ nhớ trong");
            break;
    }
}
Vậy là xong, toàn bộ code tại MainActivity.java như sau:
public class MainActivity extends AppCompatActivity implements View.OnClickListener {
    Button btnSave, btnDisplay;
    EditText myInputText;
    TextView responseText;
    //Tên file được tạo
    private String filename = "internalStorage.txt";

    //Thư mục do mình đặt
    private String filepath = "ThuMucCuaToi";
    File myInternalFile;

    @Override
    public void onCreate(Bundle savedInstanceState) {
        super.onCreate(savedInstanceState);
        setContentView(R.layout.activity_main);
        initView();
        ContextWrapper contextWrapper = new ContextWrapper(
                getApplicationContext());
        //Tạo (Hoặc là mở file nếu nó đã tồn tại) Trong bộ nhớ trong có thư mục là ThuMucCuaToi.
        File directory = contextWrapper.getDir(filepath, Context.MODE_PRIVATE);
        myInternalFile = new File(directory, filename);
        //Gọi hàm initView

    }

    private void initView() {
        myInputText = (EditText) findViewById(R.id.myInputText);
        responseText = (TextView) findViewById(R.id.responseText);
        // Các sự kiện
        btnSave = (Button) findViewById(R.id.btnSave);
        btnSave.setOnClickListener(this);
        btnDisplay = (Button) findViewById(R.id.btnDisplay);
        btnDisplay.setOnClickListener(this);
    }

    public void onClick(View v) {

        String myData = "";
        switch (v.getId()) {
            case R.id.btnSave:
                try {
                    //Mở file
                    FileOutputStream fos = new FileOutputStream(myInternalFile);
                    //Ghi dữ liệu vào file
                    fos.write(myInputText.getText().toString().getBytes());
                    fos.close();
                } catch (IOException e) {
                    e.printStackTrace();
                }
                myInputText.setText("");
                responseText
                        .setText("Đã được lưu vào bộ nhớ trong");
                break;

            case R.id.btnDisplay:
                try {
                    //Đọc file
                    FileInputStream fis = new FileInputStream(myInternalFile);
                    DataInputStream in = new DataInputStream(fis);
                    BufferedReader br = new BufferedReader(
                            new InputStreamReader(in));
                    String strLine;
                    //Đọc từng dòng
                    while ((strLine = br.readLine()) != null) {
                        myData = myData + strLine;
                    }
                    in.close();
                } catch (IOException e) {
                    e.printStackTrace();
                }
                myInputText.setText(myData);
                responseText
                        .setText("Lấy dữ liệu từ bộ nhớ trong");
                break;
        }
    }
}
Ta chạy chương trình và xem kết quả
Để biết file được tạo bởi chương trình nằm ở đâu, trong Android Studio ta vào Tools/Android/Android Device Monitor. Hộp thoại hiện lên ta chọn sang thẻ File Explorer và chọn đến data/data/app_trong_thiet_bi/thu_muc_ta_tao/file_vua_tao
Vậy là mình đã giới thiệu với các bạn cách lưu trữ giữ liệu và đọc giữ liệu từ bộ nhớ trong của thiết bị android. Khi ta xóa app chứa bộ nhớ trong này thì dữ liệu cũng sẽ bị xóa theo,
Chúc các bạn thành công!!!

Theo dõi VnCoder trên Facebook, để cập nhật những bài viết, tin tức và khoá học mới nhất!
Bài viết liên quan
Bài viết mới

Hướng dẫn xây dựng ứng dụng sử dụng API vân tay (FINGERPRINT API) để đăng nhập, đăng ký người dùng trong Android (P2)
