HƯỚNG DẪN VÍ DỤ VỀ ỨNG DỤNG TRÌNH ĐỌC MÃ VẠCH ANDROID SỬ DỤNG ZXING (ANDROID BARCODE READER EXAMPLE TUTORIAL)
Máy đọc mã vạch Android là một ứng dụng cho phép người dùng đọc mã vạch. Hướng dẫn này giải thích cách bạn có thể tạo ứng dụng đọc mã vạch cho Android.
MÁY ĐỌC MÃ VẠCH LÀ GÌ?
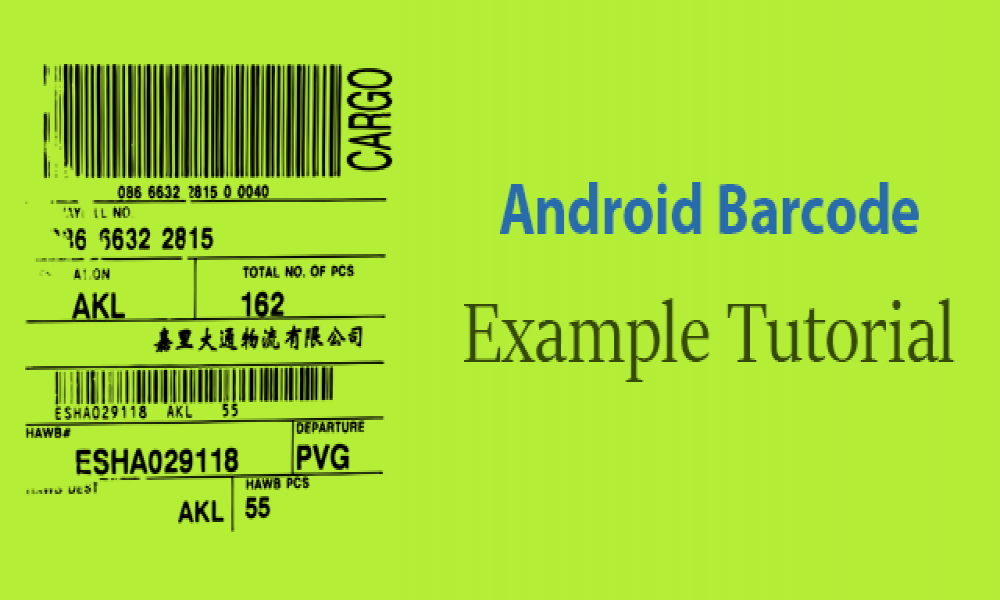
Máy đọc mã vạch là một thiết bị điện tử có thể đọc mã vạch và xuất ra trên thiết bị hiển thị như máy tính hoặc thiết bị Android. Với sự trợ giúp của đầu đọc mã vạch Android, bạn có thể quét mã vạch trên sản phẩm. Có hàng trăm ứng dụng đọc mã vạch Android có sẵn trên Play Store. Bây giờ bạn có thể tự làm theo hướng dẫn này. Rất dễ dàng vì Google đã tung ra một thư viện trình đọc mã vạch miễn phí có tên ZXing có thể được truy cập thông qua Intent trong ứng dụng.
VÍ DỤ VỀ TRÌNH ĐỌC MÃ VẠCH ANDROID
Mọi thiết bị Android đều có khả năng đọc mã vạch để giải mã rất nhiều thông tin. Hướng dẫn này là hướng dẫn đầy đủ để tạo một ứng dụng trong Android để đọc mã vạch. Chúng ta sẽ triển khai ứng dụng đọc mã vạch Android với việc sử dụng thư viện ZXing (Zebra Crossing), sẽ sử dụng để quét mã vạch trong Android.
ZXing (Zebra Crossing) là một mã nguồn mở, thư viện xử lý ảnh 1D / 2D được triển khai bằng Java.
Truy cập vào đây để có thư viện Zxing: http://github.com/zxing
Những thứ bạn cần để phát triển đầu đọc mã vạch Android
- Android Studio
- Thiết bị Android
- cáp USB
- Một sản phẩm có mã vạch
- Thư viện ZXing
TẠO MỘT DỰ ÁN MỚI
Mở Android Studio, File => New Project
Nhập project name
Click vào next, giữ nguyên cài đặt mặc định và click vào finish.
Tải xuống gói ZXing và đưa nó vào project’s build path.
Tạo MainActivity.
Chuyển đến thư mục res mở acitive_main.xml
Tạo linear layout, button (để bắt đầu đọc mã vạch) và text view (để hiển thị thông tin) trong activity này.
ĐÂY LÀ MÃ CHO ACTIVITY_MAIN.XML
<? xml version = "1.0" encoding = "utf-8" ?>
< RelativeLayout xmlns:android = "http://schemas.android.com/apk/res/android"
    xmlns:app = "http://schemas.android.com/apk/res-auto"
    xmlns:tools = "http://schemas.android.com/tools"
    android:layout_width = "match_parent"
    android:layout_height = "match_parent"
    android:paddingBottom = "@dimen/activity_vertical_margin"
    android:paddingLeft = "@dimen/activity_horizontal_margin"
    android:paddingRight = "@dimen/activity_horizontal_margin"
    android:paddingTop = "@dimen/activity_vertical_margin"
    app:layout_behavior = "@string/appbar_scrolling_view_behavior"
    tools:context = "com.example.admin.barcodereader.MainActivity"
    tools:showIn = "@layout/activity_main" >

    < LinearLayout
        android:orientation = "vertical"
        android:layout_width = "match_parent"
        android:layout_height = "match_parent"
        android:layout_centerVertical = "true"
        android:layout_alignParentLeft = "true"
        android:layout_alignParentStart = "true"
        android:weightSum = "1" >

        < TextView
            android:layout_width = "192dp"
            android:layout_height = "wrap_content"
            android:layout_marginTop = "20dp"
            android:text = "SCAN"
            android:textAlignment = "center"
            android:textSize = "30dp"
            android:id = "@+id/textView"
            android:layout_gravity = "center_horizontal"
            android:layout_weight = "0.21" />

        < Button
            android:layout_width = "187dp"
            android:layout_height = "wrap_content"
            android:text = "Bar Code"
            android:textSize = "20dp"
            android:id = "@+id/button"
            android:layout_gravity = "center_horizontal"
            android:layout_weight = "0.08"
            android:onClick = "ScanBar" />
    </ LinearLayout >
</ RelativeLayout >
Thực hiện hàm onClick () trong lớp MainActivity.java
Để triển khai mã này, chúng ta cần thư viện Zebra Cross tại com.google.zxing.client.android
ĐÂY LÀ MÃ HOÀN CHỈNH CỦA MAINACTIVITY.JAVA
import android.app.Activity;
import android.app.AlertDialog;
import android.app.Dialog;
import android.content.ActivityNotFoundException;
import android.content.DialogInterface;
import android.content.Intent;
import android.net.Uri;
import android.os.Bundle;
import android.support.design.widget.FloatingActionButton;
import android.support.design.widget.Snackbar;
import android.support.v7.app.AppCompatActivity;
import android.support.v7.widget.Toolbar;
import android.view.View;
import android.widget.Toast;

public class MainActivity extends AppCompatActivity {

    static final String SCAN = "com.google.zxing.client.android";
    @Override
    protected void onCreate( Bundle savedInstanceState ) {
        super.onCreate( savedInstanceState );
        setContentView( R.layout.activity_main );
        Toolbar toolbar = ( Toolbar ) findViewById( R.id.toolbar );
        setSupportActionBar( toolbar );

        FloatingActionButton fab = ( FloatingActionButton ) findViewById( R.id.fab );
        fab.setOnClickListener( new View.OnClickListener() {
            @Override
            public void onClick( View view ) {
                Snackbar.make( view, "Replace with your own action", Snackbar.LENGTH_LONG)
                        .setAction( "Action", null ).show();
            }
        });
    }

    // fucntion to scan barcode
    public void ScanBar ( View view ) {
        try {
            //this intent is used to call start for bar code
            Intent in = new Intent( SCAN );
            in.putExtra( "SCAN_MODE", "PRODUCT_MODE" );
            startActivityForResult( in, 0 );
        } catch ( ActivityNotFoundException e) {
            showDialog( MainActivity.this,"No scanner found", "Download Scanner code Activity?"," Yes", "No" ).show();

        }
    }


    private Dialog showDialog ( final Activity act, CharSequence title,CharSequence message, CharSequence yes, CharSequence no ) {

        // a subclass of dialog that can display buttons and message
        AlertDialog.Builder download = new AlertDialog.Builder( act );
        download.setTitle( title );
        download.setMessage ( message );
        download.setPositiveButton ( yes, new DialogInterface.OnClickListener ( ) {
            @Override
            public void onClick( DialogInterface dialog, int i ) {
                // TODO Auto-generated method stub
                //uri to download barcode scanner
                Uri uri = Uri.parse( "market://search?q=pname:" + "com.google.zxing.client.android" );
                Intent in = new Intent ( Intent.ACTION_VIEW, uri );
                try {
                    act.startActivity ( in );
                } catch ( ActivityNotFoundException e) {

                }
            }
        });
            download.setNegativeButton ( no, new DialogInterface.OnClickListener() {
                @Override
                public void onClick ( DialogInterface dialog, int i ) {
                    // TODO Auto-generated method stub
                }
            });
            return download.show();
    }

    @Override
    protected void onActivityResult ( int requestCode, int resultCode, Intent in ) {
        // TODO Auto-generated method stub
        if( requestCode == 0 ){
            if( resultCode == RESULT_OK ){
                //use to get scan result
                String contents = in.getStringExtra( "SCAN_RESULT" );
                String format =  in.getStringExtra( "SCAN_RESULT_FORMAT" ) ;
                Toast toast = Toast.makeText( this, "Content:" + contents + " Format:" + format, Toast.LENGTH_LONG );
                toast.show();
            }
        }
    }
}
Sau khi hoàn thành phần mã, bây giờ hãy chạy ứng dụng của bạn trên thiết bị di đồng để xem nó hoạt đông (Không thể chạy ứng dụng trên trình giả lập vì trình giả lập không có bất kỳ thiết bị quét nào)
TÓM LẠI
Trong hướng dẫn này, chúng ta đã giải thích cách tạo ứng dụng máy quét mã vạch cho thiết bị Android của bạn. Vì chúng ta đã sử dụng thư viện ZXing nên không cần cài đặt máy quét mã vạch trong thiết bị của mình, ZXing sẽ thực hiện công việc này cho chúng ta.
Có nhiều cách khác để tạo ứng dụng đọc mã vạch nhưng cách này là đơn giản nhất. Giờ đây, bạn có thể quét, giải mã mã vạch của bất kỳ sản phẩm nào.
Bạn có thể sử dụng tính năng này trong nhiều ứng dụng khác, thường khi xây dựng các ứng dụng Android phức tạp, chúng ta cần đọc mã vạch và bạn có thể tích hợp mã này trong ứng dụng của mình.

Theo dõi VnCoder trên Facebook, để cập nhật những bài viết, tin tức và khoá học mới nhất!
Bài viết liên quan
Bài viết mới

Hướng dẫn xây dựng ứng dụng sử dụng API vân tay (FINGERPRINT API) để đăng nhập, đăng ký người dùng trong Android (P2)
