[Laravel 5.8] Cách đăng nhập, đăng ký bằng tài khoản Google
Trong bài viết này vncoder sẽ hướng dẫn các bạn đăng nhập, đăng ký bằng tài khoản Google bằng gói laravel/socialite trong laravel 5.8.

Việc tích hợp mạng xã hội vào phần đăng nhập, đăng ký hệ thống Website đang trở nên rất phổ biến, nó giúp website chúng ta tăng trải nghiệm người dùng, thu nhập thêm thông tin người dùng như ngày sinh, nơi sống, giới tính,....và kết hợp với các hệ thống bình luận rất thuận tiện. Vì thế trong bài viết này vncoder.vn sẽ hướng dẫn các bạn tích hợp chức năng đăng ký, đăng nhập bằng tài khoản Google bằng gói laravel/socialite trong Laravel 5.8.
Để thực hiện đăng nhập, đăng ký với tài khoản Google chúng ta thực hiện các bước sau:
Bước 1: Cài đặt một Project trong Laravel 5.8
Để tạo một project trong Laravel bạn chạy theo câu lệnh dưới đây hoặc có thể tham khảo bài viết này
composer create-project --prefer-dist laravel/laravel googleLogin "5.8.*"
Bước 2: Cài đặt gói Socialite
Trong bước này, chúng ta cài đặt gói Socialite để kết nối với tài khoản Google. Vì vậy hãy chạy theo câu lệnh dưới đây
composer require laravel/socialite
Sau khi cài đặt xong, chúng ta mở file config/app.php và thêm vào providers và aliases như sau:
'providers' => [

    ....

    Laravel\Socialite\SocialiteServiceProvider::class,

],

'aliases' => [

    ....

    'Socialite' => Laravel\Socialite\Facades\Socialite::class,

],
Bước 3: Tạo ứng dụng Google Api
Trong bước này chúng ta cần lấy id và secret. Nêu bạn chưa có ứng dụng Google API bạn có thể tạo tại đây, bạn có thể xem hình ảnh bên dưới:
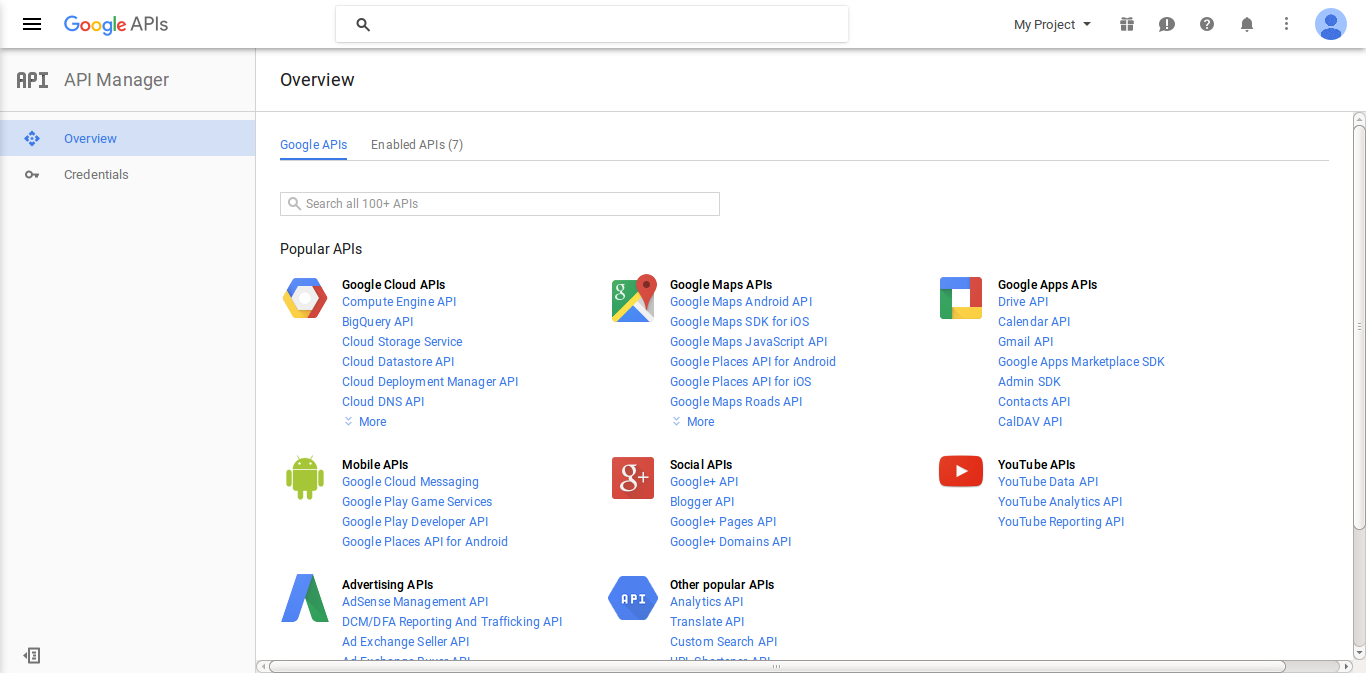
Bây giờ chúng ta click vào Credentials, chọn tùy chọn oAuth và nhấp vào nút Create new Client ID
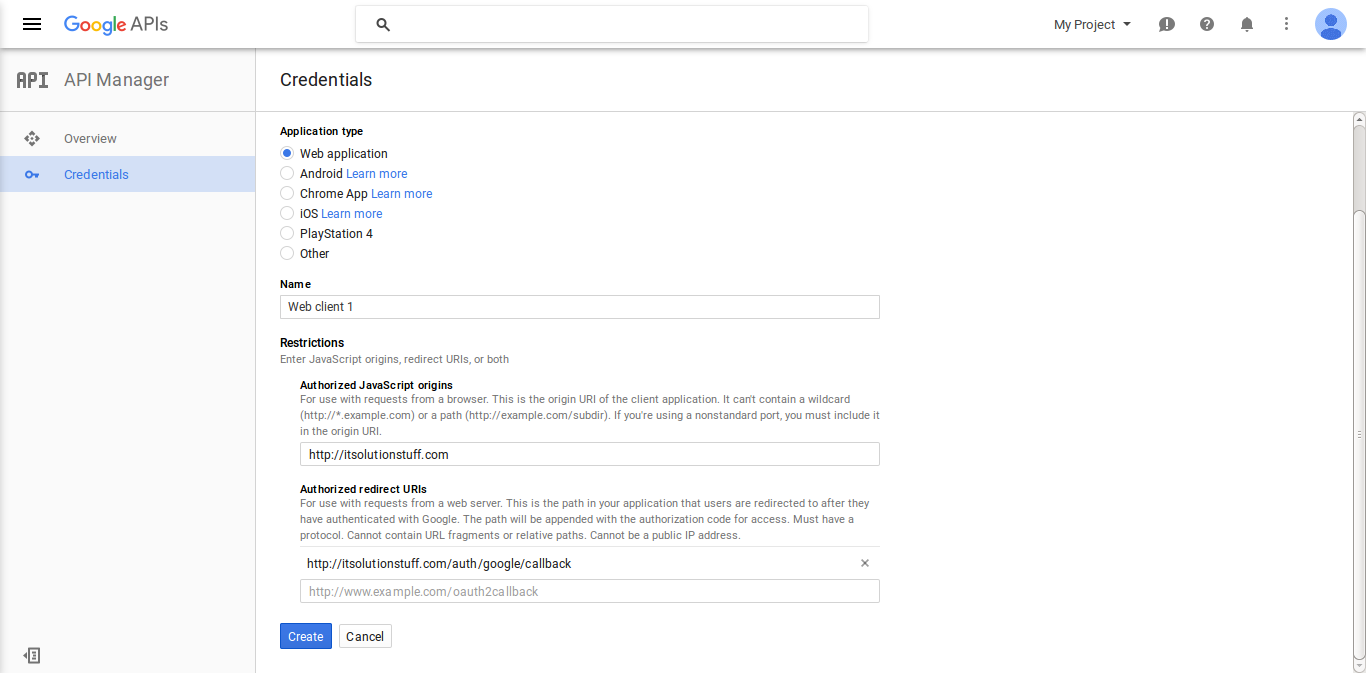
Sau khi tạo xong, chúng ta copy id và secret.
Bây giớ mở file config/services.php và đặt id và secret như sau:
config/services.php
return [
    ....
    'google' => [
        'client_id' => 'app id',
        'client_secret' => 'add secret',
        'redirect' => 'http://learnl52.hd/auth/google/callback',
    ],
]
Bước 4: Thêm cột google_id trong bảng users
Trong bước này chúng ta tạo một migration và thực hiện thêm cột cho bảng users, thực hiện như sau:
php artisan make:migration add_google_id_column
<?php

use Illuminate\Support\Facades\Schema;
use Illuminate\Database\Schema\Blueprint;
use Illuminate\Database\Migrations\Migration;

class AddGoogleIdColumn extends Migration
{
    /**
     * Run the migrations.
     *
     * @return void
     */
    public function up()
    {
        Schema::table('users', function ($table) {
            $table->string('google_id')->nullable();
        });
    }

    /**
     * Reverse the migrations.
     *
     * @return void
     */
    public function down()
    {
        //
    }
}
Tiếp theo chúng ta cần cập nhật lại file app/User.php - thêm google_id vào fillable
<?php

namespace App;

use Illuminate\Notifications\Notifiable;
use Illuminate\Contracts\Auth\MustVerifyEmail;
use Illuminate\Foundation\Auth\User as Authenticatable;

class User extends Authenticatable
{
    use Notifiable;

    /**
     * The attributes that are mass assignable.
     *
     * @var array
     */
    protected $fillable = [
        'name', 'email', 'password', 'google_id'
    ];

    /**
     * The attributes that should be hidden for arrays.
     *
     * @var array
     */
    protected $hidden = [
        'password', 'remember_token',
    ];

    /**
     * The attributes that should be cast to native types.
     *
     * @var array
     */
    protected $casts = [
        'email_verified_at' => 'datetime',
    ];
}
Bước 5: Tạo Route
Sau khi thêm cột google_id chúng ta cần tạo Route (đường dẫn) để đăng nhập với Google. Trong routes/web.php chúng ta thêm đoạn sau:
Route::get('google', function () {
    return view('googleAuth');
});

Route::get('auth/google', 'Auth\LoginController@redirectToGoogle');
Route::get('auth/google/callback', 'Auth\LoginController@handleGoogleCallback');
Bước 6: Cập nhật trong Controller
Sau khi thêm Route chúng ta thêm phương thức google auth vào file LoginControll.php
app/Http/Controllers/Auth/LoginController.php:
<?php

namespace App\Http\Controllers\Auth;

use App\Http\Controllers\Controller;
use Illuminate\Foundation\Auth\AuthenticatesUsers;
use Socialite;
use Auth;
use Exception;
use App\User;

class LoginController extends Controller
{
    /*
    |--------------------------------------------------------------------------
    | Login Controller
    |--------------------------------------------------------------------------
    |
    | This controller handles authenticating users for the application and
    | redirecting them to your home screen. The controller uses a trait
    | to conveniently provide its functionality to your applications.
    |
    */

    use AuthenticatesUsers;

    /**
     * Where to redirect users after login.
     *
     * @var string
     */
    protected $redirectTo = '/home';

    /**
     * Create a new controller instance.
     *
     * @return void
     */
    public function __construct()
    {
        $this->middleware('guest')->except('logout');
    }

    public function redirectToGoogle()
    {
        return Socialite::driver('google')->redirect();
    }

    public function handleGoogleCallback()
    {
        try {

            $user = Socialite::driver('google')->user();

            $finduser = User::where('google_id', $user->id)->first();

            if($finduser){

                Auth::login($finduser);

                return return redirect('/home');

            }else{
                $newUser = User::create([
                    'name' => $user->name,
                    'email' => $user->email,
                    'google_id'=> $user->id
                ]);

                Auth::login($newUser);

                return redirect()->back();
            }

        } catch (Exception $e) {
            return redirect('auth/google');
        }
    }
}
Bước 7: Tạo file Blade
Cuối cùng chúng ta thêm vào blade View và thêm đoạn code sau:
resources/views/googleAuth.blade.php
<!DOCTYPE html>
<html>
<head>
    <title>Laravel 5.8 Login with Google Account Example</title>
</head>
<body>
    <div class="container">
       <div class="row">
         <div class="col-md-12 row-block">
          <a href="{{ url('auth/google') }}" class="btn btn-lg btn-primary btn-block">
          <strong>Login With Google</strong>
          </a>
         </div>
       </div>
    </div>
</body>
</html>
Tổng kết
Như vậy vncoder.vn đã hướng dẫn xong chức năng đăng ký đăng nhập bằng tài khoản Google, nếu có gì không hiểu hoặc thắc mắc các bạn có thể để lại bình luận bên dưới để được giải đáp. Chức bạn thành công.
Tài liệu tham khảo:
Theo dõi VnCoder trên Facebook, để cập nhật những bài viết, tin tức và khoá học mới nhất!
Bài viết mới

Được xem nhiều nhất
[Laravel] Hướng dẫn tích hợp thanh toán online, tích hợp cổng thanh to...
[Laravel] Sử dụng Ajax làm chức năng tìm kiếm trong Laravel
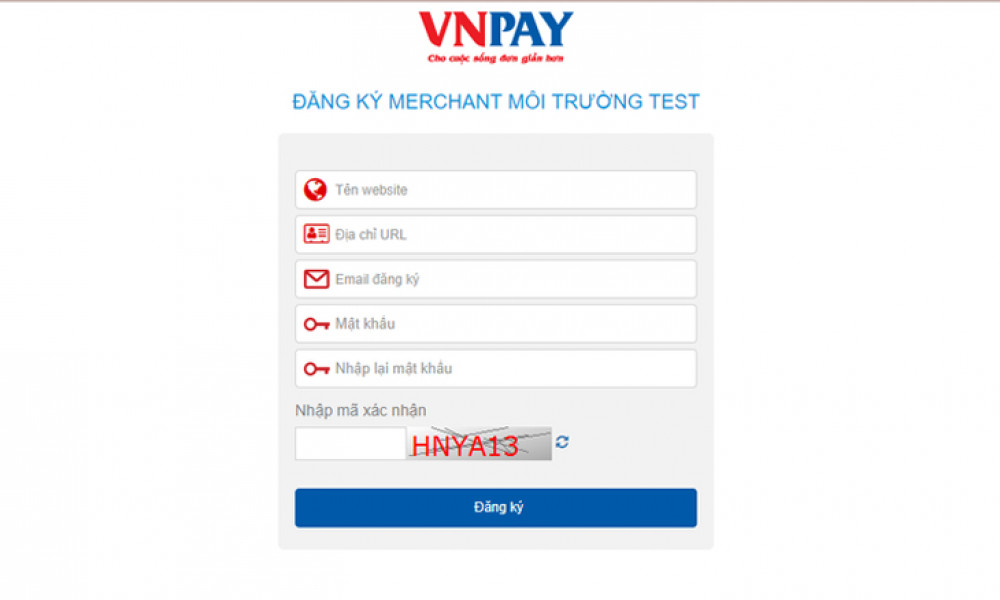
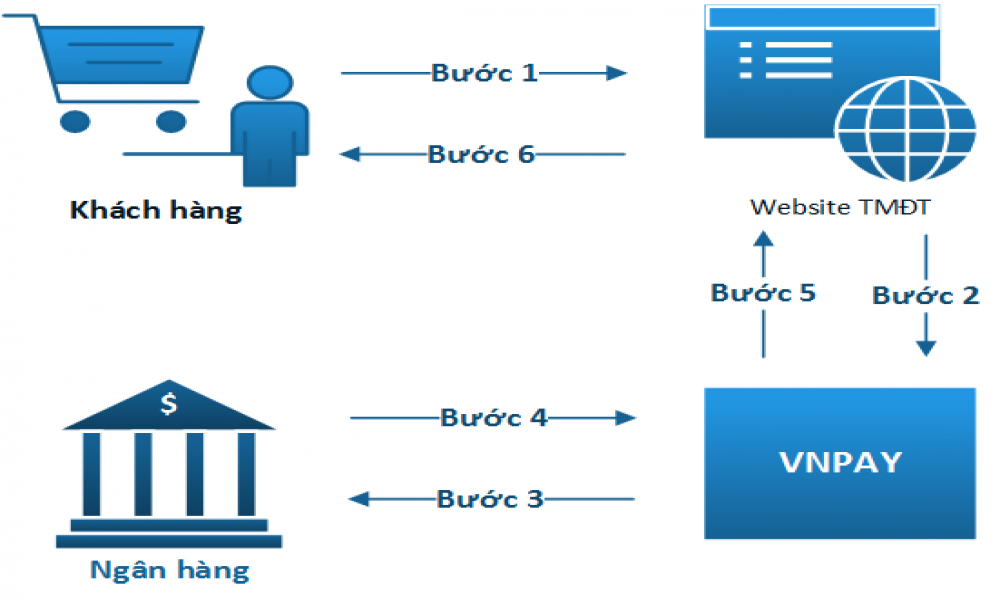
Tích hợp cổng thanh toán VNPay với Laravel.
[Laravel] Cách sử dụng Charts - hướng dẫn vẽ biểu đồ trong Laravel
[Laravel] Hướng dẫn cách Query Filter đơn giản trong Laravel
Khóa học liên quan
Xây dựng ứng dụng với Laravel và Vuejs
Lượt xem: 18002
Chuyên mục: Laravel