CÁCH CHUYỂN ĐỔI HÌNH ẢNH SANG TỆP PDF BẰNG APACHE PDFBOX TRONG ANDROID (P1)
Nếu bạn đang suy nghĩ về cách chuyển đổi tệp hình ảnh sang tệp PDF, thì ở hướng dẫn này, bạn sẽ tìm hiểu cách nó có thể được thực hiện trong Android.
Trong các hướng dẫn PDF trước của chúng ta, chúng ta đã đề cập đến cách tạo tệp PDF mới trong android và cách tải hoặc ghi tệp PDF trong android, vì vậy ở hướng dẫn này chúng ta sẽ tập trung vào cách chuyển đổi hình ảnh sang tệp PDF.
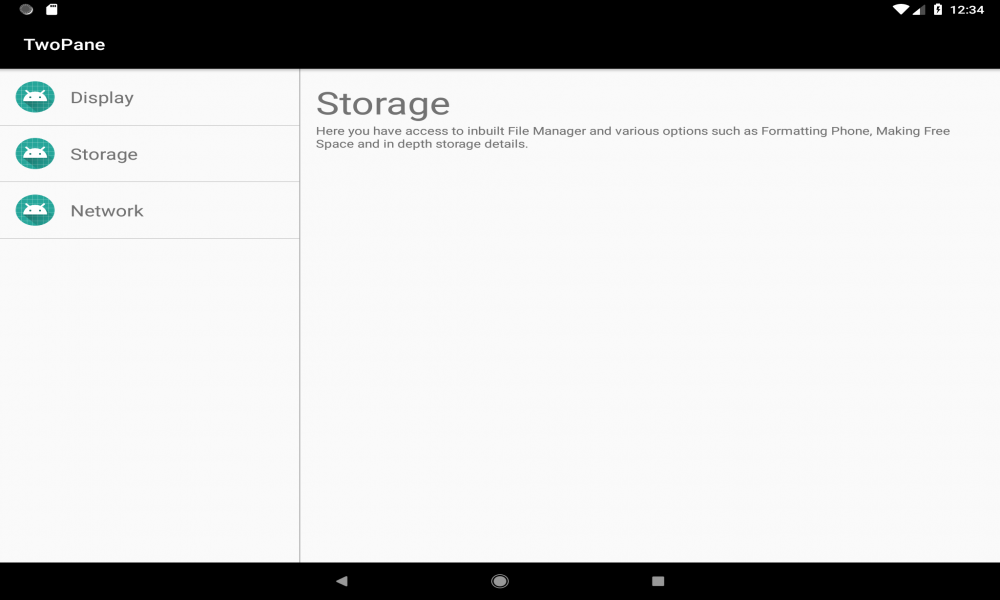
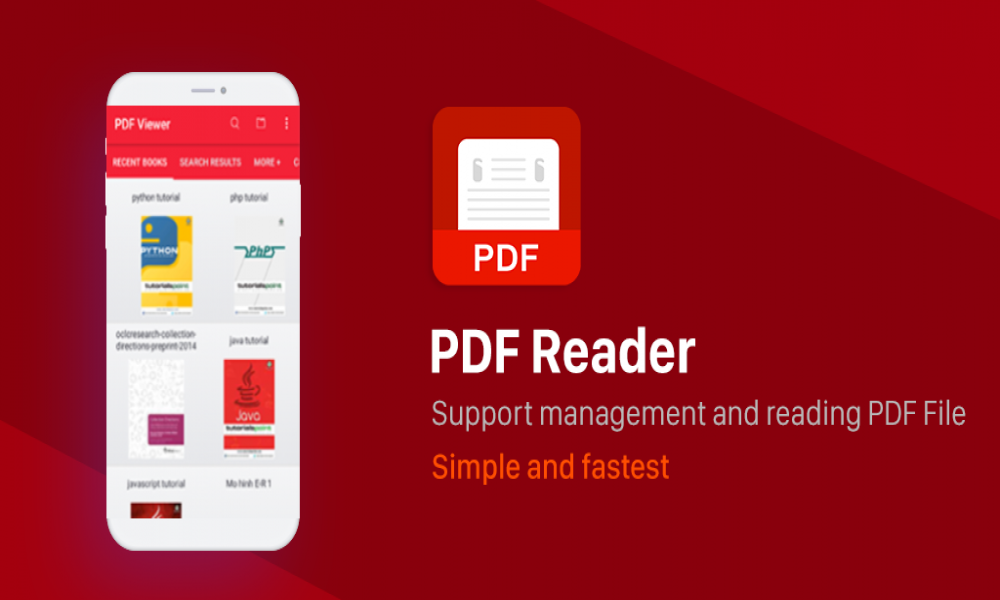
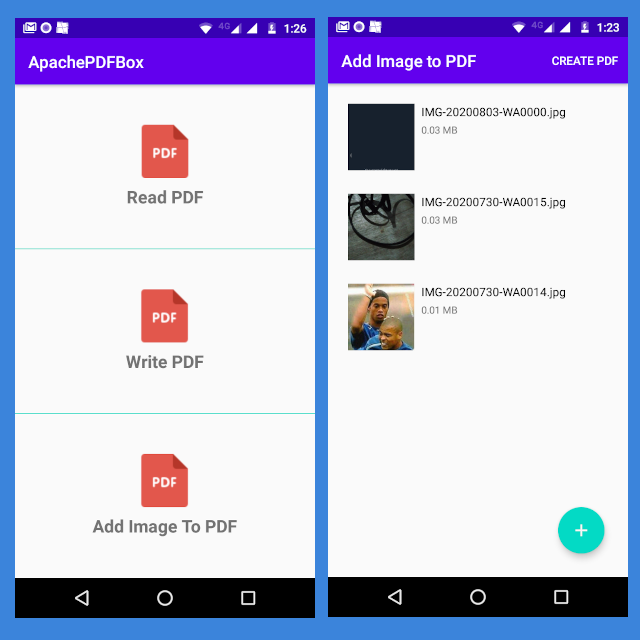
Dưới đây là ảnh chụp màn hình của ứng dụng chúng ta sẽ tạo
1. TẠO DỰ ÁN ANDROID MỚI
- Mở Android Studio
- Chuyển đến file menu
- Chọn new
- Nhập project name
- Nhập activity name
- Giữ các cài đặt mặc định khác
- Click vào nút finish để tạo một dự án Android mới
2. THÊM PERMISSION
Vì việc truy cập android storage API cần có quyền, chúng ta sẽ thêm mã này vào file manifest.
<uses-permission android:name="android.permission.READ_EXTERNAL_STORAGE" />
<uses-permission android:name="android.permission.WRITE_EXTERNAL_STORAGE" />
3. THÊM THƯ VIỆN BÊN THỨ BA ANDROID
Chúng ta sẽ thêm một số thư viện android sẽ giúp chúng ta giải quyết nhanh một số vấn đề.
Mở tệp build.gradle và thêm các thư viện bên dưới.
apply plugin: 'com.android.application'

android {
    compileSdkVersion 30
    buildToolsVersion "30.0.0"

    defaultConfig {
        applicationId "com.inducesmile.apachepdfbox"
        minSdkVersion 21
        targetSdkVersion 30
        versionCode 1
        versionName "1.0"

        testInstrumentationRunner "androidx.test.runner.AndroidJUnitRunner"
    }

    buildTypes {
        release {
            minifyEnabled false
            proguardFiles getDefaultProguardFile('proguard-android-optimize.txt'), 'proguard-rules.pro'
        }
    }

    compileOptions {
        sourceCompatibility JavaVersion.VERSION_1_8
        targetCompatibility JavaVersion.VERSION_1_8
    }
}

dependencies {
    implementation fileTree(dir: "libs", include: ["*.jar"])
    implementation 'androidx.appcompat:appcompat:1.1.0'
    implementation 'androidx.constraintlayout:constraintlayout:1.1.3'
    implementation 'com.google.android.material:material:1.3.0-alpha02'

    //Adapter
    implementation 'io.github.manneohlund:smart-recycler-adapter:3.0.0'

    //Dialog
    implementation "com.yarolegovich:lovely-dialog:1.1.0"

    //Gson
    implementation 'com.google.code.gson:gson:2.8.6'

    //loading
    implementation 'com.github.d-max:spots-dialog:1.1@aar'

    //RxAndroid
    implementation 'androidx.lifecycle:lifecycle-extensions:2.2.0'
    implementation "io.reactivex.rxjava2:rxandroid:2.1.1"
    implementation "io.reactivex.rxjava2:rxjava:2.2.10"

    //Pdf viewer
    implementation 'com.github.barteksc:android-pdf-viewer:3.2.0-beta.1'

    //PDFBox android
    implementation 'com.tom_roush:pdfbox-android:1.8.10.1'
    //File picker
    implementation 'com.github.jaiselrahman:FilePicker:1.3.2'

    implementation 'com.jakewharton:butterknife:10.2.1'
    annotationProcessor "com.jakewharton:butterknife-compiler:10.2.1"

    implementation 'com.karumi:dexter:5.0.0'

    //Lombok
    compileOnly 'org.projectlombok:lombok:1.18.8'
    annotationProcessor 'org.projectlombok:lombok:1.18.8'

    testImplementation 'junit:junit:4.12'
    androidTestImplementation 'androidx.test.ext:junit:1.1.1'
    androidTestImplementation 'androidx.test.espresso:espresso-core:3.2.0'
}
4. ACTIVITY
Mở MainActivity và đổi tên là AddImageToPdfActivity hoặc bất kỳ tên nào bạn chọn.
Mở tệp layout xml của activity.
<?xml version="1.0" encoding="utf-8"?>
<FrameLayout xmlns:android="http://schemas.android.com/apk/res/android"
    xmlns:app="http://schemas.android.com/apk/res-auto"
    xmlns:tools="http://schemas.android.com/tools"
    android:layout_width="match_parent"
    android:layout_height="match_parent"
    android:orientation="vertical"
    android:padding="12dp"
    tools:context=".AddImageToPdfActivity">

    <androidx.recyclerview.widget.RecyclerView
        android:id="@+id/selected_images"
        android:layout_width="match_parent"
        android:layout_height="match_parent"
        android:orientation="vertical"/>

 <com.google.android.material.floatingactionbutton.FloatingActionButton
        android:id="@+id/fab"
        android:layout_width="wrap_content"
        android:layout_height="wrap_content"
        android:layout_gravity="end|bottom"
        android:layout_margin="16dp"
        android:backgroundTint="@color/colorAccent"
        android:src="@drawable/ic_baseline_add_24" />

</FrameLayout>
Chúng ta đã thêm một FloatingActionButton sẽ được sử dụng để mở FilePickerActivity.
RecyclerView sẽ lưu giữ các chi tiết của hình ảnh được chọn từ File Picker.
5. TẠO CLASS HELPER
Click chuột phải vào project package folder, chọn tùy chọn new và chọn package. Thêm tên của thư mục là utils.
Làm theo các bước tương tự và tạo thêm hai thư mục. Đặt tên cho chúng modelvà adapter.
i ). Tạo lớp adapter mới cho RecyclerView. Chúng ta đã thêm thư viện SmartRecyclerAdapter để làm cho công việc dễ dàng hơn.
Tạo một lớp Java mới bên trong thư mục adapter và đặt tên cho nó ImageViewHolder.
public class ImageViewHolder extends SmartViewHolder<Document> {

    private static final String TAG = ImageViewHolder.class.getSimpleName();

    @BindView(R.id.file_icon)
    AppCompatImageView fileIcon;

    @BindView(R.id.filename)
    AppCompatTextView filename;

    @BindView(R.id.file_size)
    AppCompatTextView fileSize;

    public ImageViewHolder(ViewGroup parentView) {
        super(LayoutInflater.from(parentView.getContext()).inflate(R.layout.image_item_layout, parentView, false));
        ButterKnife.bind(this, itemView);
    }

    @Override
    public void bind(Document item) {
        if (item != null){
            loadImage(item.getDocumentPath(), fileIcon);
            filename.setText(item.getDocumentName());
            fileSize.setText(item.getDocumentSize());
        }
    }

    private void loadImage(String filePath, AppCompatImageView imageView){
        File imgFile = new  File(filePath);
        if(imgFile.exists()){

            Bitmap bitmap = BitmapFactory.decodeFile(imgFile.getAbsolutePath());
            imageView.setImageBitmap(bitmap);
        }
    }
}
ii). Tạo một lớp Java mới bên trong thư mục model và đặt tên cho nó Document.
@Setter
@Getter
public class Document {

    private String documentName;
    private String documentSize;
    private String createdAt;
    private String documentPath;
    private int icon;

    public Document(String documentName, String documentSize, String createdAt, String documentPath) {
        this.documentName = documentName;
        this.documentSize = documentSize;
        this.createdAt = createdAt;
        this.documentPath = documentPath;
    }
}
iii). Bên trong thư mục Utils, chúng ta sẽ tạo một số lớp trợ giúp.
Tạo ba lớp Java và đặt tên chúng như sau: AddImageToPdf.java, DimensionUtils.javavàCommonUtils.java.
Mở AddImageToPdf.java .
Lớp này chứa một phương thức chuyển đổi image(s) sang tệp Pdf.
public class ImageToPdfHelper {
    private Context context;
    private List<String> inputImage;
    private File outputFile;

    public ImageToPdfHelper(Context context, List<String> inputImage, File outputFile) {
        this.context = context;
        this.inputImage = inputImage;
        this.outputFile = outputFile;
        PDFBoxResourceLoader.init(context);
    }

    public void convertImageToPdf() throws IOException {
        PDDocument document = new PDDocument();

        for (String imageUri : inputImage) {
            PDPage pdPage = new PDPage(PDRectangle.A5);
            document.addPage(pdPage);
            PDPageContentStream pdPageContentStream = new PDPageContentStream(document, pdPage);

            PDImageXObject pdImageXObject = PDImageXObject.createFromFile(imageUri, document);

            DimensionUtil pdfPageDim = new DimensionUtil((int) PDRectangle.A5.getWidth(), (int) PDRectangle.A5.getHeight());
            DimensionUtil imagePageDim = new DimensionUtil(pdImageXObject.getWidth(), pdImageXObject.getHeight());

            DimensionUtil newDim = CommonUtils.getScaledDimension(imagePageDim, pdfPageDim);

            int imagewidth = newDim.getWidth();
            int imageheight = newDim.getHeight();

             float x = (pdPage.getMediaBox().getWidth() - imagewidth) / 2;
             float y = (pdPage.getMediaBox().getHeight() - imageheight) / 2;

            pdPageContentStream.drawImage(pdImageXObject, x, y, imagewidth, imageheight);

            pdPageContentStream.close();
        }
        document.save(outputFile);
        document.close();
    }
}
Mở DimensionUtil.java.
@Setter
@Getter
public class DimensionUtil {
    private int width;
    private int height;

    public DimensionUtil(int width, int height){
        this.width = width;
        this.height = height;
    }
}
Mở CommonUtils.java.
public class CommonUtils {

    public static DimensionUtil getScaledDimension(DimensionUtil imgSize, DimensionUtil boundary){
        int original_width = imgSize.getWidth();
        int original_height = imgSize.getHeight();
        int bound_width = boundary.getWidth();
        int bound_height = boundary.getHeight();
        int new_width = original_width;
        int new_height = original_height;

        if(original_width > bound_width){
            new_width = bound_width;
            new_height = (new_width * original_height) / original_width;
        }

        if(new_height > bound_height){
            new_height = bound_height;
            new_width = (new_height * original_width) / original_height;
        }

        return new DimensionUtil(new_width, new_height);
    }
}
Xem tiếp phần 2 của hướng dẫn ở đây
Theo dõi VnCoder trên Facebook, để cập nhật những bài viết, tin tức và khoá học mới nhất!