Cách tạo ứng dụng trình phát video bằng Android Studio
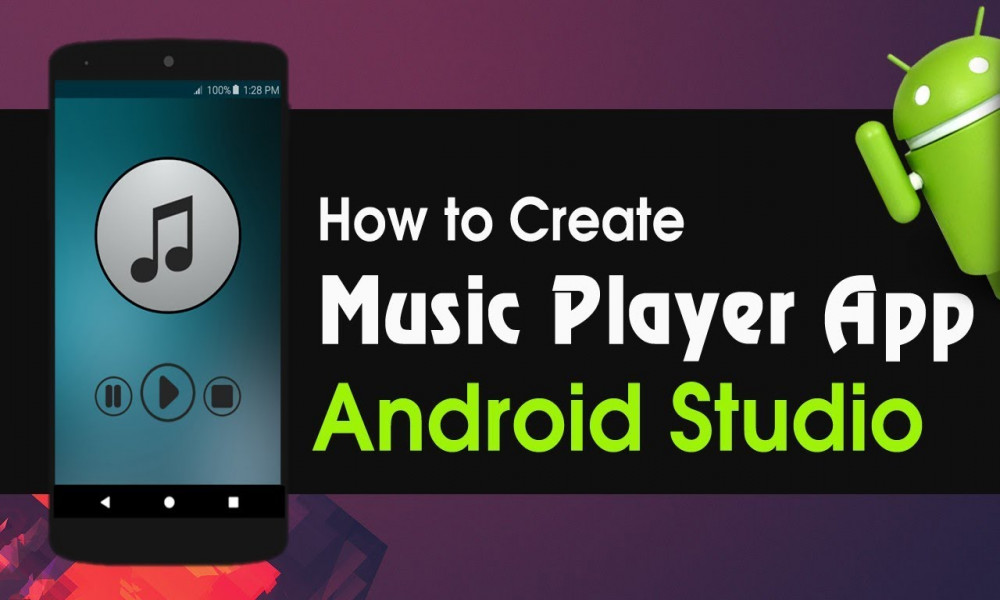
Bài viết này giải thích quy trình từng bước về cách xây dựng Trình phát video bằng Android Studio sử dụng lớp MediaPlayer
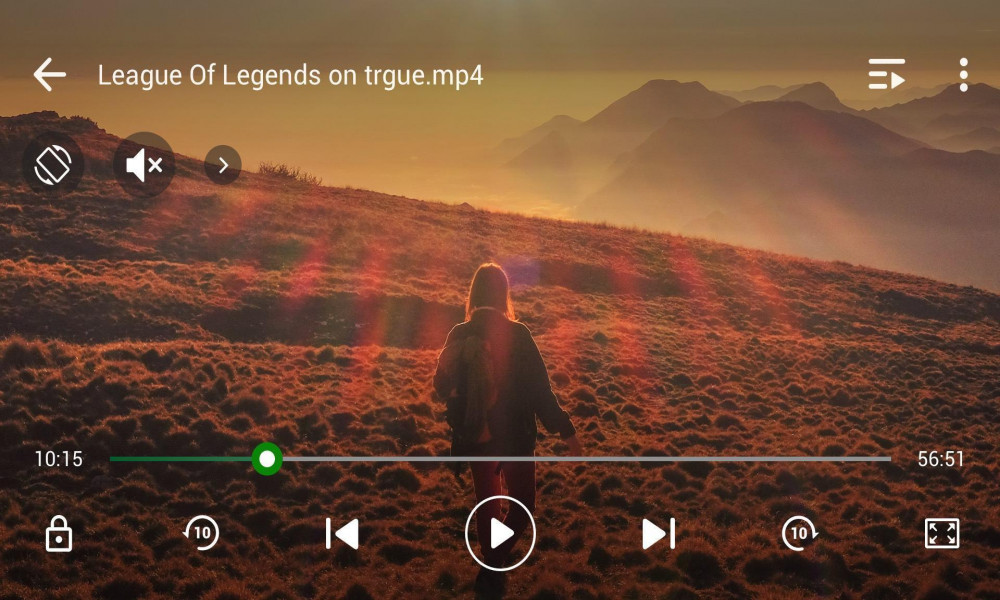
Bài viết này giải thích quy trình từng bước về cách xây dựng Trình phát video bằng Android Studio sử dụng lớp MediaPlayer
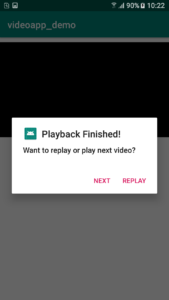
Để xem video trong Android, có một lớp đặc biệt gọi là MediaPlayer. Trong bài viết này, chúng ta sẽ có 2 video được kết nối với “Dialog box“ , tức là một hộp thoại sẽ xuất hiện sau khi hoàn thành video đầu tiên sẽ hỏi người dùng xem anh ta có muốn phát lại hoặc phát video tiếp theo không.
Để chèn video trong Android, chúng ta đặt vào thư mục raw . Thư mục raw có mặt trong:
"app" -> "res" -> "raw"
Trong thư mục này, bạn chỉ cần paste các video mà bạn muốn phát.
Các bước để xây dựng Trình phát video:
1. Khi tạo Frontend, chúng ta cần tạo một VideoView.
2. Các biểu tượng như play, rewind, forward sẽ chỉ đến khi chúng ta chạm vào VideoView và chúng sẽ chỉ đến trong 3 giây và sau đó chúng sẽ biến mất. Nó được cung cấp bởi Google và đó là hành vi mặc định của nó.
3. Đến với phần back-end (code Java), chúng ta kiểm soát media bằng:
vw.setMediaController(new MediaController(this));
4. Sau đó, thêm các video của thư mục raw trong ArrayList và thực hiện gọi đến phương thức setVideo ().
// big video songs are not running
videolist.add(R.raw.faded);
videolist.add(R.raw.aeroplane);
setVideo(videolist.get(0));
5. Trong hàm setVideo (), chúng ta cần một Uri object để truyền đến một phương thức gọi là setVideoURI ().
String uriPath = “android.resource://” + getPackageName() +”/” + id ;
Uri uri = Uri.parse(uriPath);
vw.setVideoURI(uri);
vw.start();
Lưu ý: Video đầu tiên sẽ bắt đầu phát ngay khi ứng dụng được khởi chạy do chúng ta đang thực hiện gọi hàm setVideo () bên trong onCreate () , bên trong setVideo (), gọi vw.start (), trong đó vw là VideoView.
6. Bây giờ, code tạo hộp thoại được thực hiện bên trong phương thức gọi là onCompletion ().
// It is creating object of AlertDialog
AlertDialog.Builder obj = new AlertDialog.Builder(this);
7. Cuối cùng, chúng ta xử lý hành động của người dùng, tức là những gì người dùng đã click (Phát lại hoặc tiếp theo). Logic đơn giản được sử dụng như tăng và giảm.
public void onClick(DialogInterface dialog, int which) {
  if (which == -1) {
    vw.seekTo(0);
    vw.start();
  }
  else {
    ++currvideo;
    if (currvideo == videolist.size())
      currvideo = 0;
    setVideo(videolist.get(currvideo));
  }
}
Mã hoàn chỉnh (Activity_main và MainActivity) cho ứng dụng trình phát nhạc được đưa ra dưới đây:
- activity_main.xml
<?xml version="1.0" encoding="utf-8"?>
<RelativeLayout
	xmlns:android="http://schemas.android.com/apk/res/android"
	xmlns:app="http://schemas.android.com/apk/res-auto"
	xmlns:tools="http://schemas.android.com/tools"
	android:layout_width="match_parent"
	android:layout_height="match_parent"
	tools:context=".MainActivity">

<VideoView
	android:id="@+id/vidvw"
	android:layout_marginTop="10dp"
	android:layout_width="match_parent"
	android:layout_height="match_parent"
	/>
</RelativeLayout>
- MainActivity.java
package com.example.videoapp_demo;

import android.content.DialogInterface;
import android.media.MediaPlayer;
import android.net.Uri;
import android.support.v7.app.AlertDialog;
import android.support.v7.app.AppCompatActivity;
import android.os.Bundle;
import android.widget.MediaController;
import android.widget.VideoView;

import java.util.ArrayList;

public class MainActivity
	extends AppCompatActivity
	implements MediaPlayer.OnCompletionListener {

	VideoView vw;
	ArrayList<Integer> videolist = new ArrayList<>();
	int currvideo = 0;
	@Override
	protected void onCreate(Bundle savedInstanceState)
	{
		super.onCreate(savedInstanceState);
		setContentView(R.layout.activity_main);
		vw = (VideoView)findViewById(R.id.vidvw);
		vw.setMediaController(new MediaController(this));
		vw.setOnCompletionListener(this);

		// video name should be in lower case alphabet.
		videolist.add(R.raw.middle);
		videolist.add(R.raw.faded);
		videolist.add(R.raw.aeroplane);
		setVideo(videolist.get(0));
	}

	public void setVideo(int id)
	{
		String uriPath
			= "android.resource://"
			+ getPackageName() + "/" + id;
		Uri uri = Uri.parse(uriPath);
		vw.setVideoURI(uri);
		vw.start();
	}

	public void onCompletion(MediaPlayer mediapalyer)
	{
		AlertDialog.Builder obj = new AlertDialog.Builder(this);
		obj.setTitle("Playback Finished!");
		obj.setIcon(R.mipmap.ic_launcher);
		MyListener m = new MyListener();
		obj.setPositiveButton("Replay", m);
		obj.setNegativeButton("Next", m);
		obj.setMessage("Want to replay or play next video?");
		obj.show();
	}

	class MyListener implements DialogInterface.OnClickListener {
		public void onClick(DialogInterface dialog, int which)
		{
			if (which == -1) {
				vw.seekTo(0);
				vw.start();
			}
			else {
				++currvideo;
				if (currvideo == videolist.size())
					currvideo = 0;
				setVideo(videolist.get(currvideo));
			}
		}
	}
}
Đầu ra:
- Phát video đầu tiên:
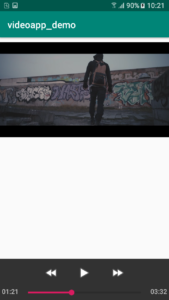
- Hộp thoại sau video đầu tiên:
- Phát video thứ hai:
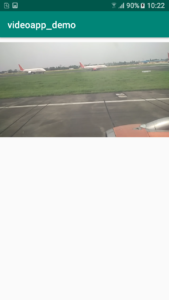

Theo dõi VnCoder trên Facebook, để cập nhật những bài viết, tin tức và khoá học mới nhất!
Bài viết liên quan
Bài viết mới

Hướng dẫn xây dựng ứng dụng sử dụng API vân tay (FINGERPRINT API) để đăng nhập, đăng ký người dùng trong Android (P2)
